What To Do If Your Oil Tank Is Leaking: A Step-by-Step Guide

What To Do If Your Oil Tank Is Leaking: A Step-by-Step Guide
Discovering a leak in your oil tank can feel overwhelming—but swift, informed action can prevent long-term damage. Whether it’s a minor drip or a serious spill, knowing what to do in those first few moments is essential for protecting your home, your health, and the environment. In this guide, we’ll break down exactly how to respond to an oil tank leak, from staying safe to stopping the spill and getting professional help.
Why Oil Tank Leaks Demand Immediate Action
A leaking oil tank isn’t just a plumbing nuisance—it’s a serious issue with wide-reaching consequences:
-
Environmental damage: Heating oil can seep into the soil and nearby water sources, polluting local ecosystems. GOV.UK has detailed guidance on managing oil spills and their environmental impact.
-
Health risks: Prolonged exposure to heating oil fumes can lead to headaches, nausea, and other health symptoms. The Breckland Council outlines how oil vapour exposure can become a serious concern in confined spaces.
-
High repair costs: Oil damage can affect foundations, driveways, and utility lines. The longer the issue goes unresolved, the more expensive it becomes to fix.
Step 1: Focus on Immediate Safety
If you notice a strong fuel smell or see oil pooling near the tank, your first priority is to stay safe.
-
Avoid smoking or using open flames nearby.
-
Switch off nearby appliances and anything that could ignite fumes.
-
If the smell is overwhelming, leave the area and ventilate the space if possible.
-
Wear gloves or protective clothing if you need to inspect the leak more closely. Fermanagh & Omagh District Council offers helpful public health guidance on dealing with oil exposure.
Step 2: Identify and Assess the Leak
Once it’s safe, take a closer look to determine where the oil is coming from.
-
Is it leaking from the tank body, a pipe connection, or the base?
-
Are there visible cracks or rust patches?
-
Take clear photos of the damage. You’ll need them for insurance claims and when contacting repair services.
-
If you’re unsure whether you’re seeing signs of a serious leak, this guide from PAT Testing outlines 8 common indicators of heating oil leaks.
Step 3: Contain the Spill If You Can
While only a professional can fully stop the leak, there are steps you can take to reduce the damage in the meantime.
-
Use sand, sawdust, or spill pads to soak up visible oil.
-
Place containers or trays under the leak to catch dripping fuel.
-
Keep children and pets well away from the area until it’s been cleaned.
Step 4: Contact Professionals and Authorities
You’ll need expert help to deal with the leak properly.
-
Contact a heating oil tank specialist as soon as possible. They can advise whether a repair is possible or if a replacement is necessary.
-
In some areas, you’re required to report heating oil spills to the local authority or the Environment Agency. See this GOV.UK briefing for more on when and how to report an oil leak.
Step 5: Repair or Replace the Tank
Once professionals assess the situation, they’ll recommend either repair or full replacement.
-
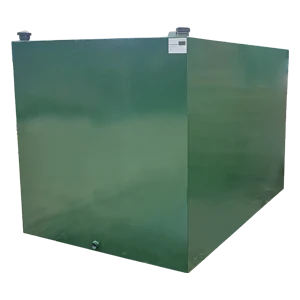
Steel tanks with corrosion or base damage may be beyond repair.
-
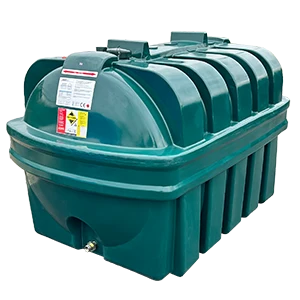
Plastic tanks with minor cracks might be patched—temporarily.
-
Either way, schedule regular inspections going forward. Preventative maintenance is far more cost-effective than dealing with a major leak.
Step 6: Prevent Future Leaks
After the emergency is handled, it’s time to think long-term.
-
Keep the area around your tank clear so you can inspect it regularly.
-
Monitor for signs of rust, bulging, or damp patches.
-
Know your local regulations—oilstorageregs.co.uk hosts Pollution Prevention Guidelines (PPG2) and useful storage advice to stay compliant.


Share This: